A7 Wong Nai Tau - Pak Sha Wan

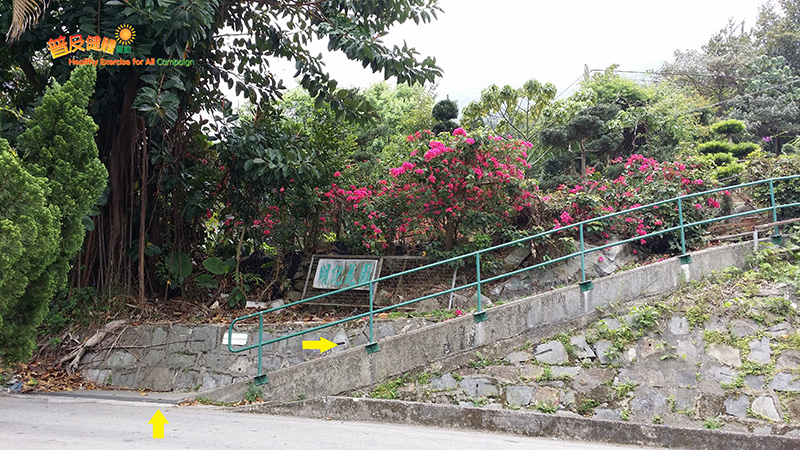
Wong Nai Tau Bus Terminus

Wong Nai Tau Bus Terminus

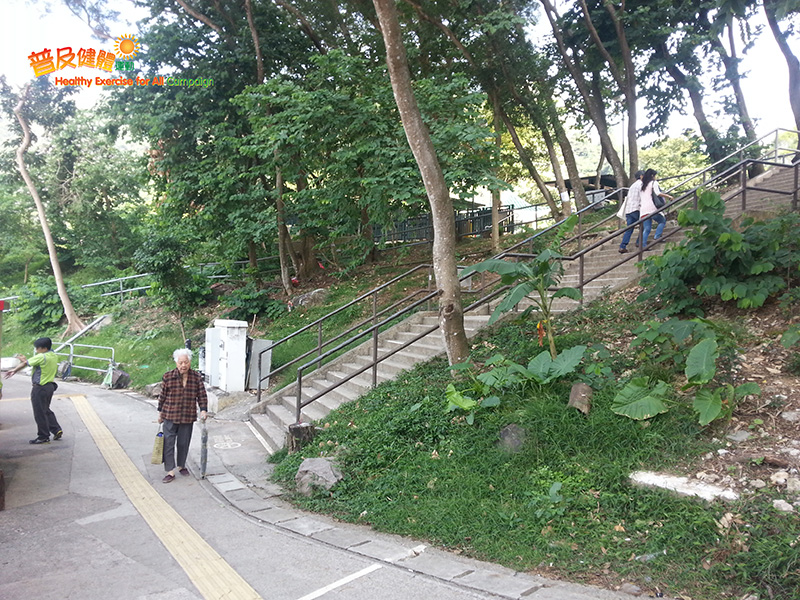
Walk up the steps

Walk up the steps

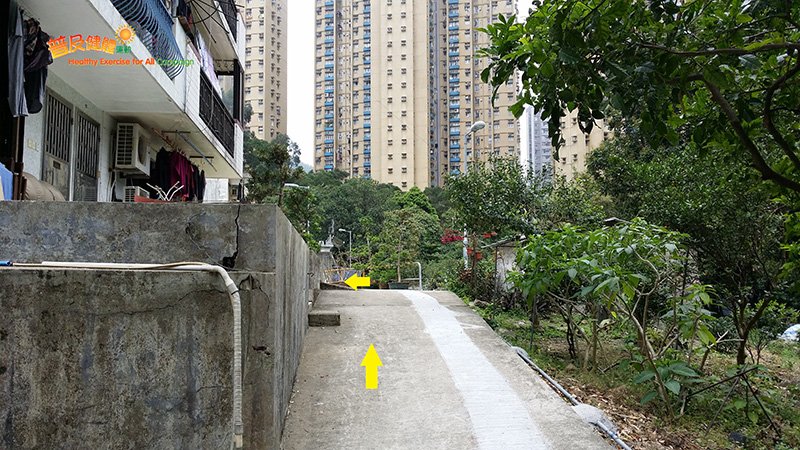
Follow the village path and turn left

Follow the village path and turn left

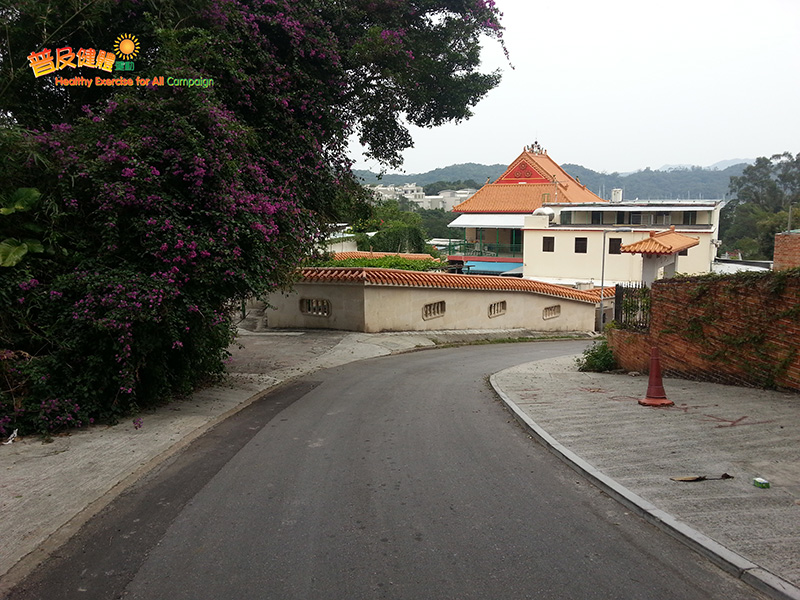
Follow the path beside the garden and walk uphill

Follow the path beside the garden and walk uphill

Uphill path

Uphill path

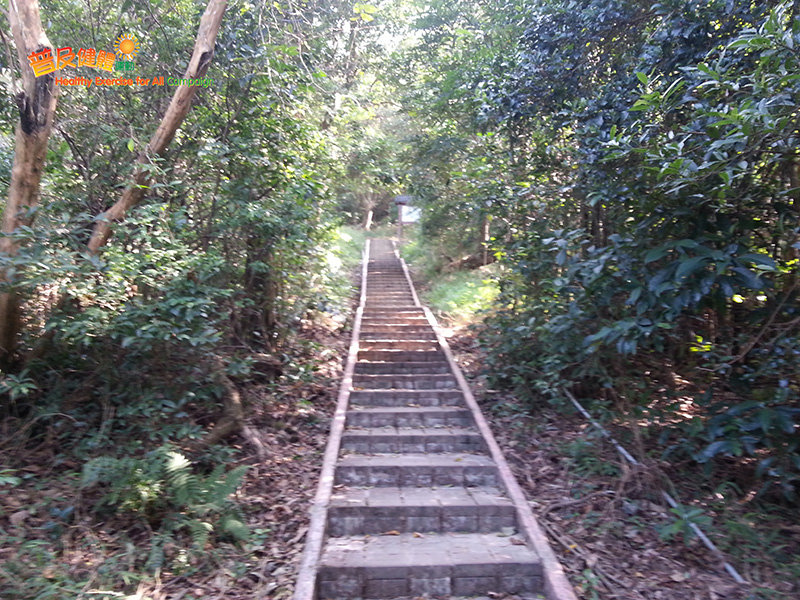
Walk up the steps

Walk up the steps

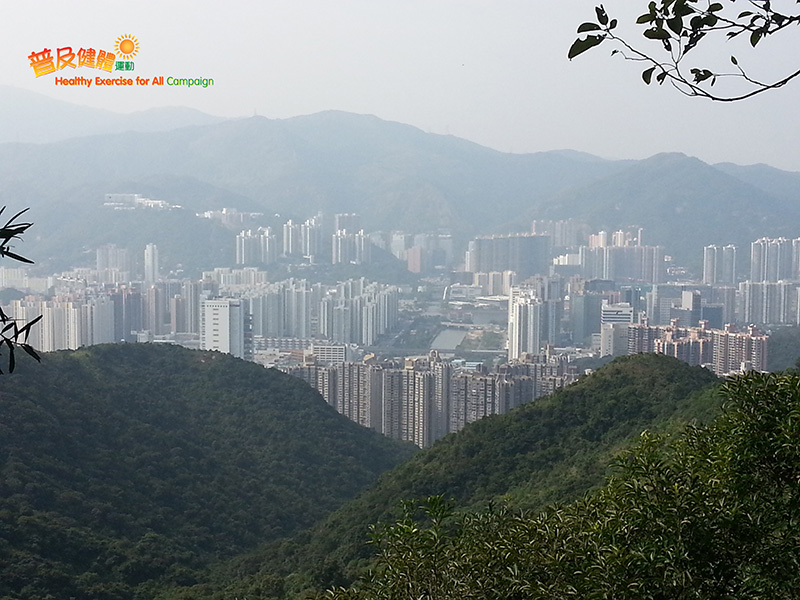
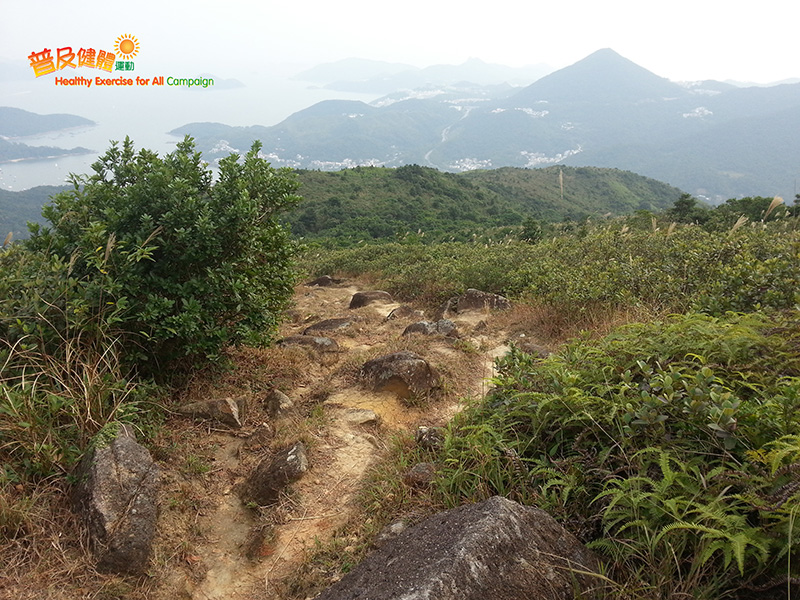
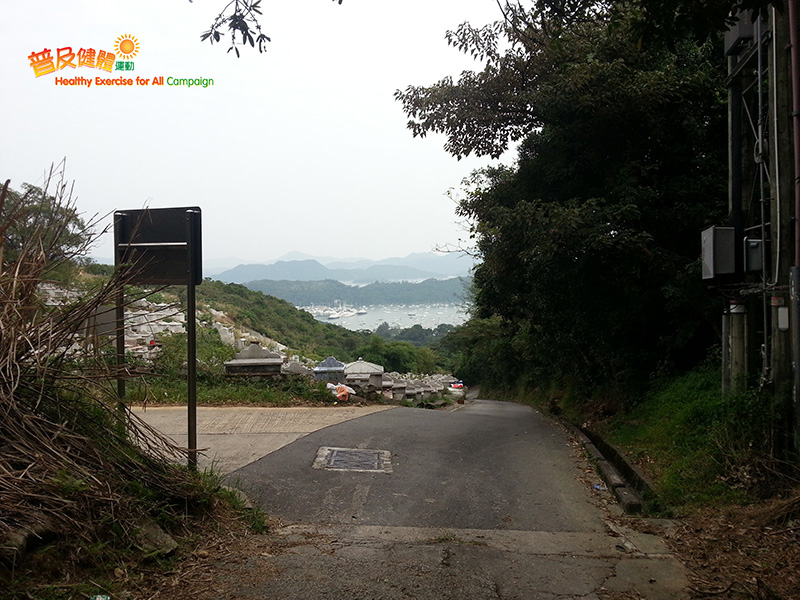
Looking towards Sha Tin

Looking towards Sha Tin

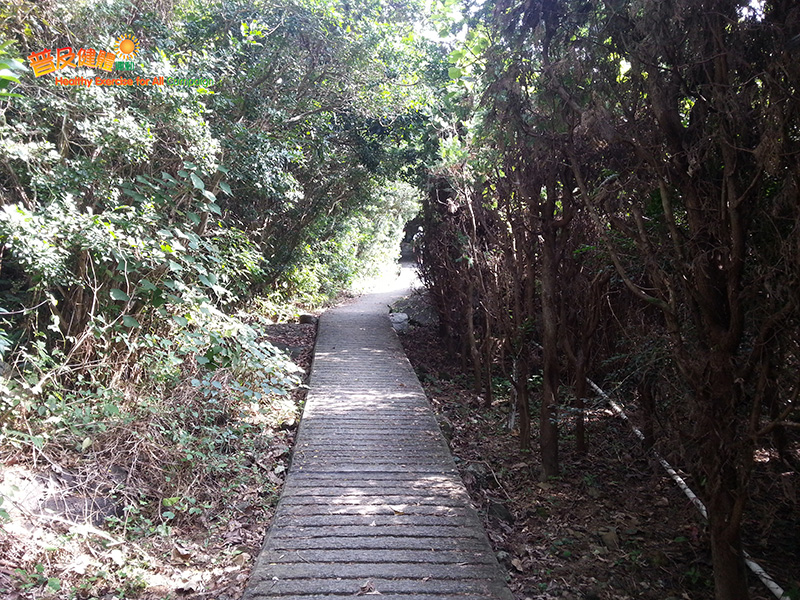
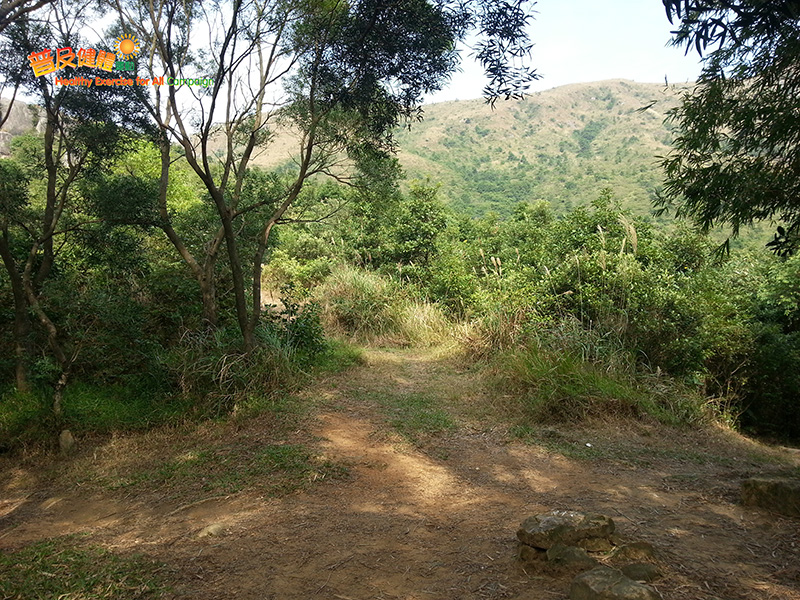
Footpath

Footpath

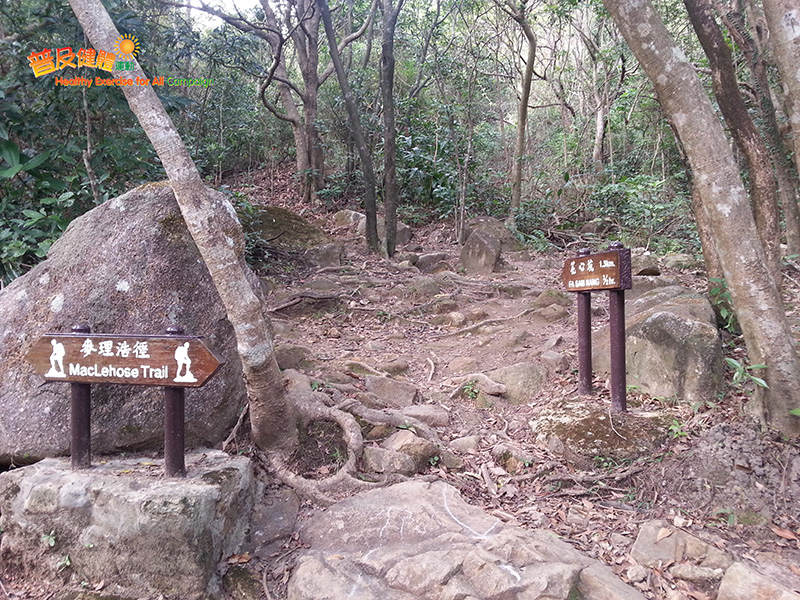
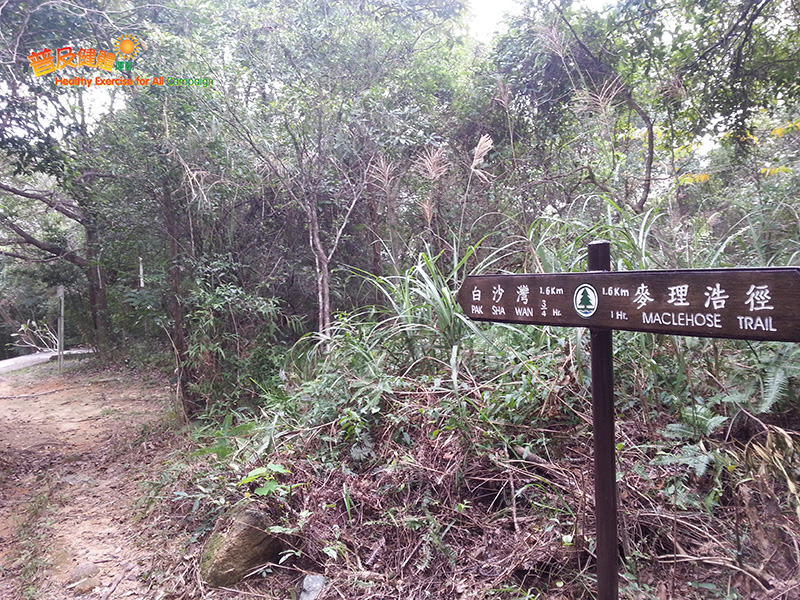
Proceed to MacLehose Trail and turn left

Proceed to MacLehose Trail and turn left

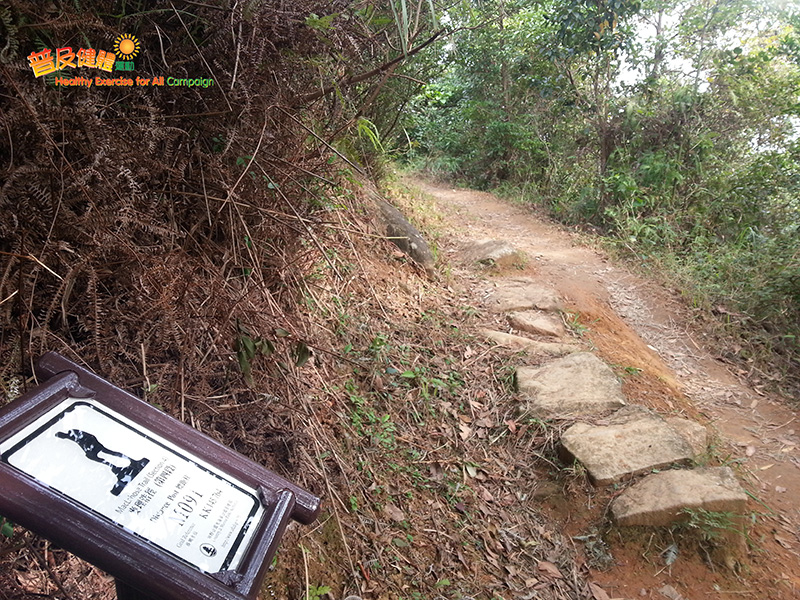
Distance Post M091

Distance Post M091

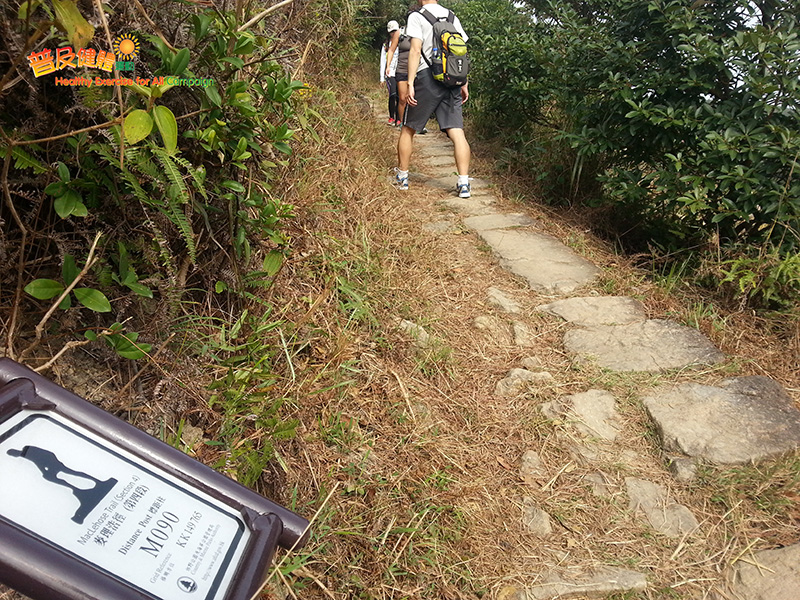
Distance Post M090

Distance Post M090

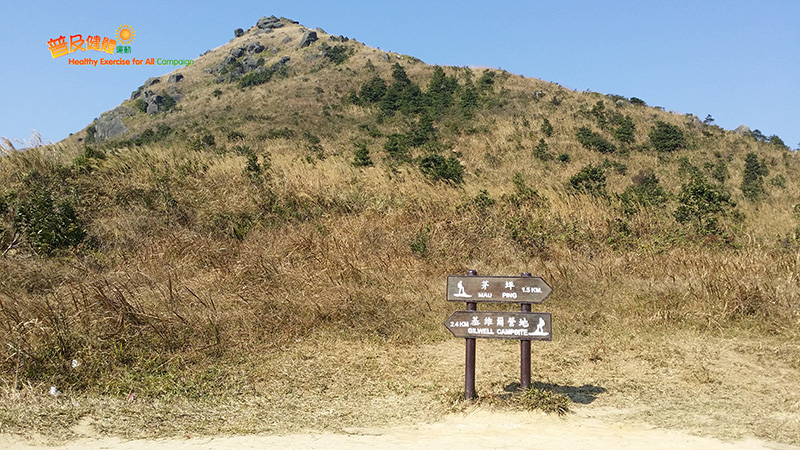
Buffalo Pass (Ta She Yau Au)

Buffalo Pass (Ta She Yau Au)

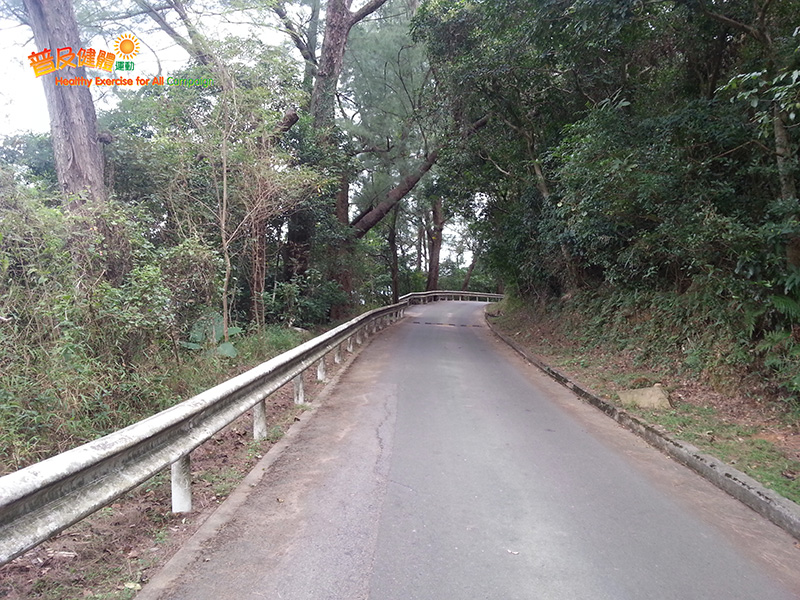
Downhill path

Downhill path

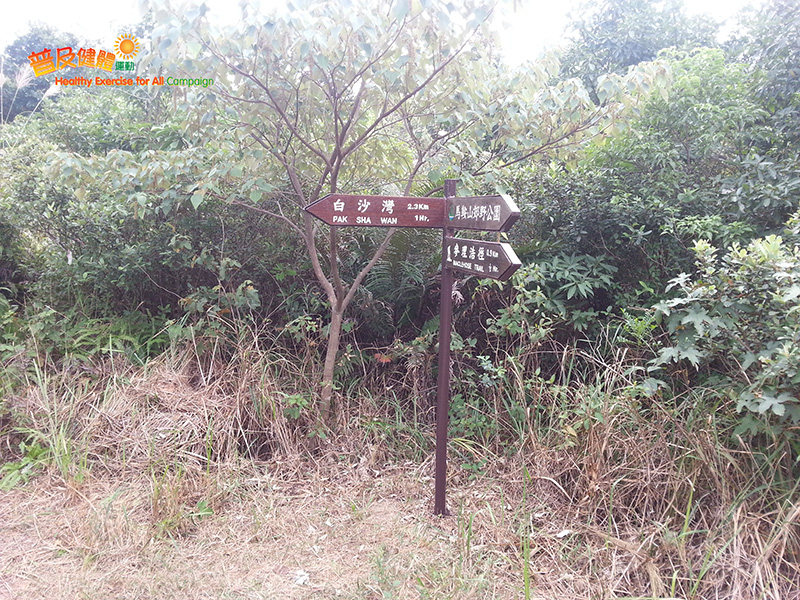
Sign

Sign

Downhill path

Downhill path

Sign

Sign

Looking towards Pak Sha Wan

Looking towards Pak Sha Wan

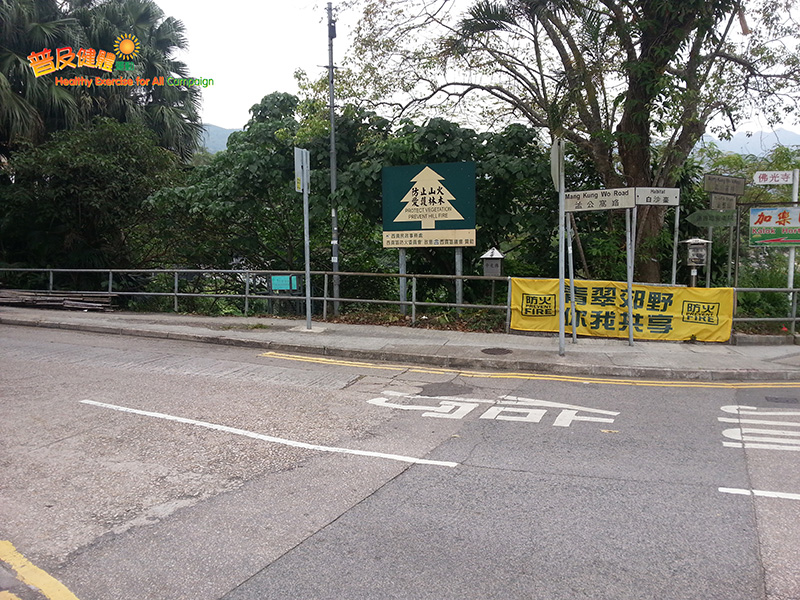
Mang Kung Wo Road

Mang Kung Wo Road

Mang Kung Wo Road

Mang Kung Wo Road

Proceed to Hiram's Highway

Proceed to Hiram's Highway

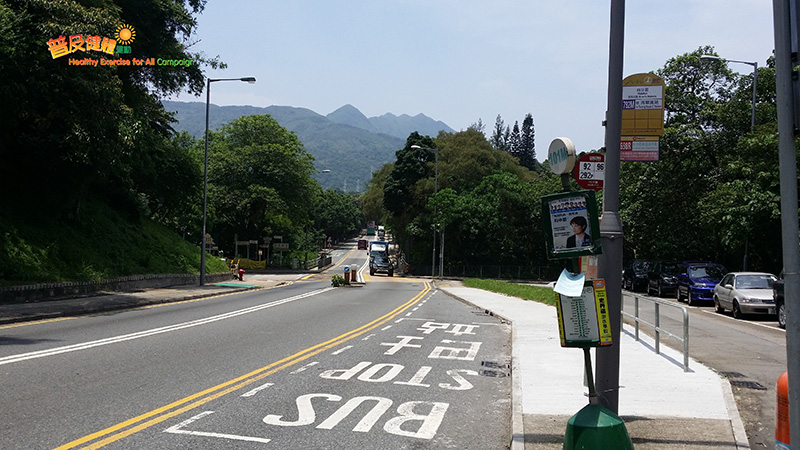
Bus stop

Bus stop

« prevnext »
Wong Nai Tau Bus Terminus
Walk up the steps
Follow the village path and turn left
Follow the path beside the garden and walk uphill
Uphill path
Walk up the steps
Looking towards Sha Tin
Footpath
Proceed to MacLehose Trail and turn left
Distance Post M091
Distance Post M090
Buffalo Pass (Ta She Yau Au)
Downhill path
Sign
Downhill path
Sign
Looking towards Pak Sha Wan
Mang Kung Wo Road
Mang Kung Wo Road
Proceed to Hiram's Highway
Bus stop


Interactive Route MapCross Section ChartRoute Guide
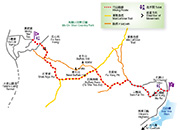
RouteA7 - Wong Nai Tau - Pak Sha Wan
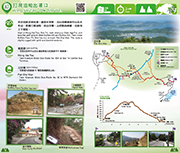
BriefStart at Wong Nai Tau, Sha Tin, walk slowly up Shek Nga Pui, and take the path around West Buffalo Hill and Buffalo Hill.  Then cross Buffalo Pass (Ta She Yau Au) to reach Pak Sha Wan.  The route is slightly rugged with uphill and downhill sections.
Starting PointWong Nai Tau (KK135778)

- Take Kowloon Motor Bus Route No. 83K at Sha Tin Central Bus Terminus.
Finishing PointPak Sha Wan (KK178762)

- Take Kowloon Motor Bus Route No. 92 to MTR Diamond Hill Station.
Lengthabout 6.6 km
Durationabout 4 hours
Level of Difficulty DifficultyDifficulty
Countryside MapSai Kung & Clear Water Bay


Top